I told you once that I can be quite stubborn sometimes – and I wasn’t kidding. :D
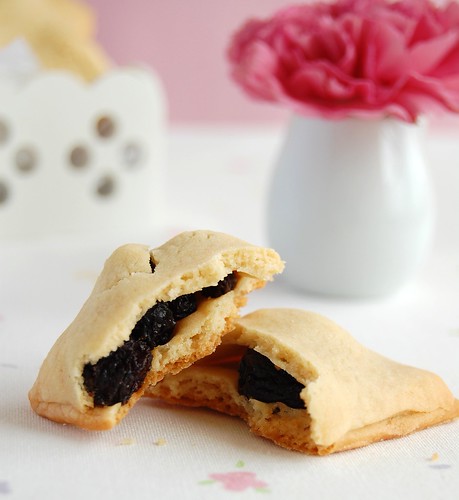
Kate Zuckerman’s pretty rugelach cookies had been on my mind forever, but I never had all the ingredients on hand. Well, I finally did – on a 30ºC (86ºF) day. I knew it was too hot and that the dough sounded too delicate for such temperature, but I insisted on making it anyway.
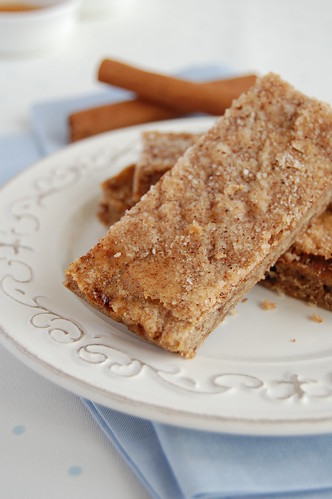
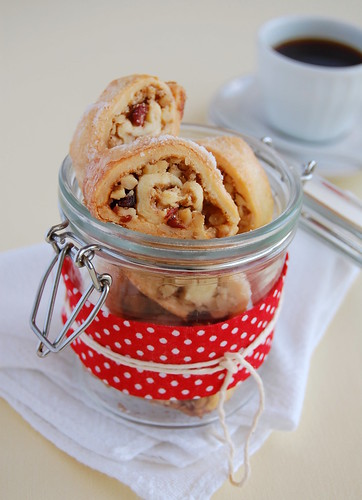
All I can say is that the cookies were delicious – a couple of friends loved them – but they did not turn out as beautiful as Kate’s, because I could not roll the dough correctly.
Living and learning – I hope so. :D

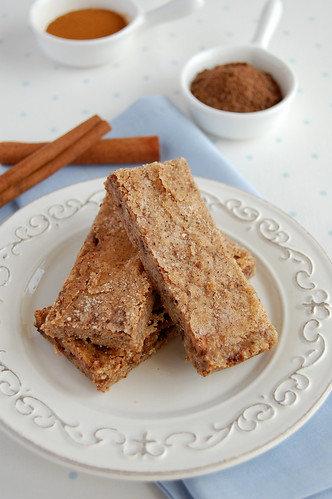
Walnut, cranberry and cinnamon rugelach
from The Sweet Life: Desserts from Chanterelle
Dough:
8 tablespoons (4oz/112g) unsalted butter, room temperature
112g (4oz) cream cheese, room temperature
1 cup (140g) all purpose flour, plus more for rolling the dough
¼ teaspoon salt
1 teaspoon sugar
Filling:
1 cup (110g) walnuts, finely chopped
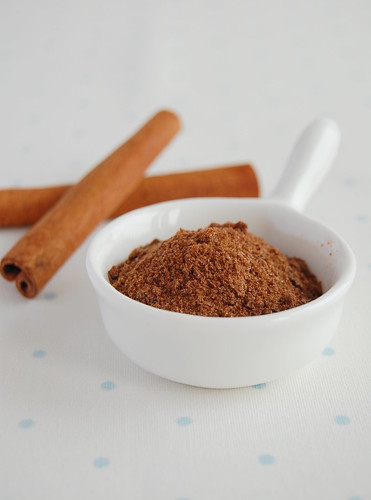
½ teaspoon cinnamon
½ cup (55g) dried cranberries, coarsely chopped (the original recipe called for currants)
½ cup (100g) caster sugar
1 egg, for egg wash
Using a stand mixer fitted with the paddle attachment or a hand mixer, combine the butter and cream cheese and beat on medium speed until the mixture is light, fluffy and has increased in volume, 5-8 minutes. On slow speed, add the dry ingredients and beat until the dough is thoroughly combined. Set the mixer on medium speed and beat the dough for 15 seconds.
Using a rubber spatula, scrape the dough onto a piece of plastic wrap. Wrap the dough tightly and press it down until it is 2.5cm (1in) thick. Refrigerate the dough at least 2 hours or overnight.
Make the filling: in a bowl, using a fork, toss together the chopped walnuts, cinnamon, cranberries and ¼ cup (50g) of the sugar. Set aside.
On a floured surface, roll out the chilled dough into a rough rectangle approximately 32x40cm (13x16in). Using a pizza cutter or paring knife, trim the dough into 2 rectangles measuring 16x40cm (6 ½ x16 in).
In a small bowl, whisk the egg. Lay out each rectangle with the 16-in side directly in front o f you on the counter. Brush off any excess flour. Brush the egg wash over the entire surface of the dough. Evenly coat both rectangles of dough with the walnut filling, leaving a 2.5cm (1in) wide strip of dough on the edge farther away from you. Starting with the dough edge closer to you, tightly roll the dough away from you, tucking the filling under the dough as you roll. When you reach the strip of dough without topping, apply a little pressure to seal, and roll the log so that the seam is on the bottom, against the counter. Gently slide the logs of dough onto a cookie sheet, cover them with plastic wrap and refrigerate for at least 30 minutes and up to 1 hour; refrigerate the remaining egg wash. The logs can be stored in the refrigerator for 24 hours or in the freezer for 1 week.
Preheat the oven to 180ºC/350ºF ½ hour before baking. Line two large baking sheets with baking paper or foil.
Glaze the chilled logs with the reserved egg and sprinkle with the remaining ¼ cup (50g) sugar. Slice each log into 2.5cm (1in) cross sections – you should get between 16 and 18 slices from each log. Place the cookies 2.5cm (1in) apart on the prepared sheets* and bake until puffed and dark golden brown, 15-18 minutes – mine needed 30 minutes to become golden brown.
Allow the cookies to cool for 15 minutes before removing them from the sheets.
Cookies will keep, well wrapped, for 4 days.
* the recipe did not specified how the cookies should be placed on the sheets, so I baked the first batch with the cut side down and the other with the cookies standing with the seam down – imho, the second batch looked prettier, but a couple of cookies fell down while in the oven
Makes 32-36 cookies – I got 33