I was watching music videos on TV other day when I saw the ugliest creature ever. Really – at the moment he took off his shirt and opened his mouth I felt like running, running like there was no tomorrow.
A quick visit to a certain profile on imdb was essential to avoid being scarred for life. :D
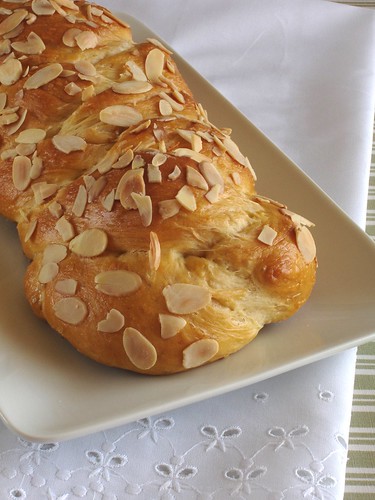
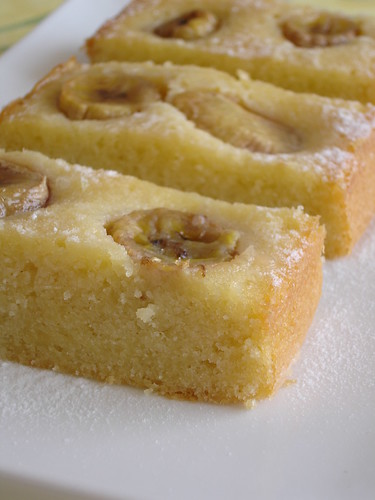
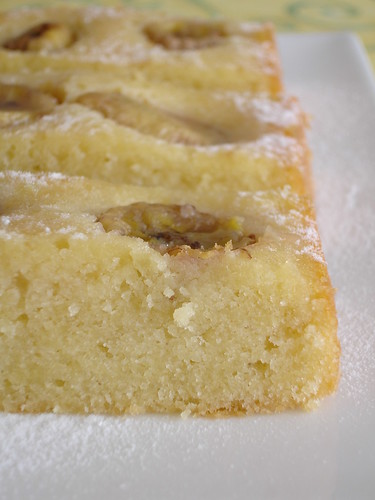
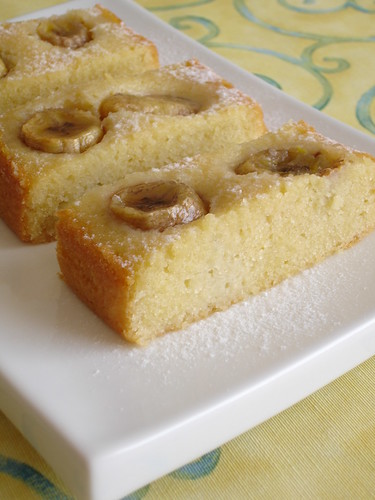
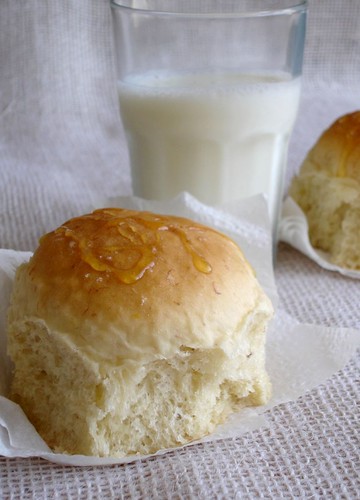
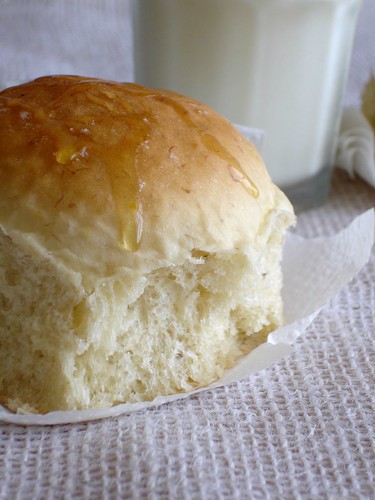
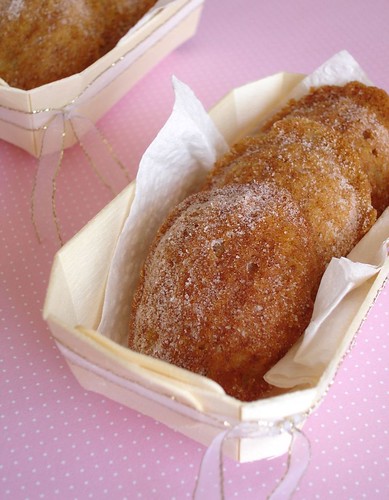
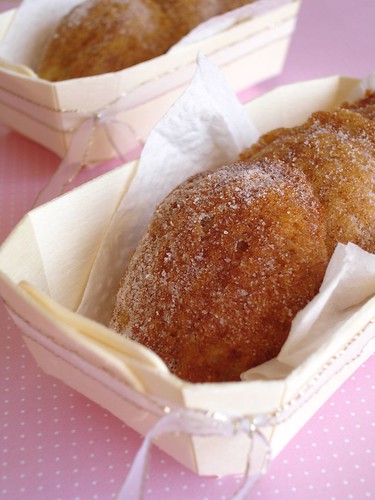
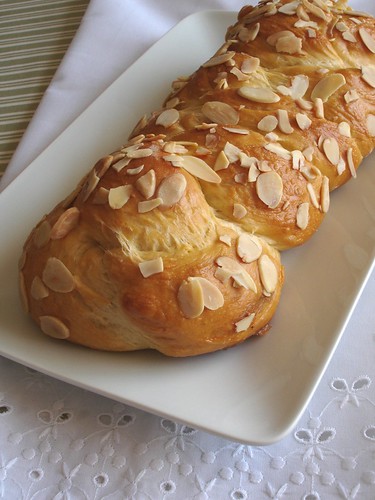
Making something pretty also helps. I decide for this challah, inspired by the gorgeous one Jaden made a while ago. The recipe is from Zoe’s wonderful book.
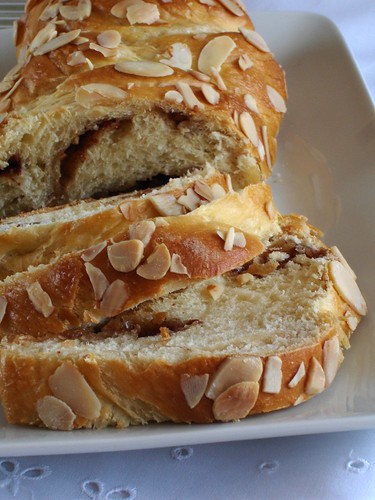
Cinnamon scented challah
from Artisan Bread in Five Minutes a Day
Master Challah dough*:
1 ¾ cups (420ml) lukewarm water
1 ½ tablespoons instant yeast
1 ½ teaspoons table salt
4 large eggs, slightly beaten
½ cup honey
½ cup (113g) unsalted butter, melted
7 cups (980g) unbleached all-purpose flour
Filling and topping:
½ cup (100g) granulated sugar
1 teaspoon ground cinnamon
a small handful sliced almonds
egg wash: 1 egg beaten with 1 tablespoon of water
Mix the yeast, salt, eggs, honey and butter with the water in a 5-quart bowl, or a lidded (not airtight) food container.
Mix in the flour without kneading, using a spoon, a 14-cup capacity food processor (with dough attachment) or a heavy duty stand mixer, with dough hook. If you are not using a machine, you may need to use wet hands to incorporate the last bit of flour.
Cover (not airtight) and allow to rest at room temperature until the dough rises and collapses (or flattens on top), approximately 2 hours.
For the filling, mix together sugar and cinnamon in a small bowl. Set aside.
The dough can be used immediately after the initial rise, though it is easier to handle when cold. Refrigerate in a lidded (not airtight) container and use over the next 5 days. Beyond 5 days, freeze in 1 pound (450g) portions in an airtight container for up to 4 weeks. Defrost frozen dough overnight in the refrigerator before using. Then allow the usual rest and rise time.
On baking day, line a baking sheet with non stick baking paper or buttered regular baking paper.
Dust the surface of the refrigerated dough with flour and cut off a 1-pound/450g (grapefruit-size) piece. Dust the piece with more flour and quickly shape it into a ball by stretching the surface of the dough around to the bottom on all four sides, rotating the ball a quarter-turn as you go.
Let’s shape the challah: use the palm of your hands and roll the dough into a thick, even log. Cut the dough into 3 equal pieces with knife or dough scraper. (It’s easier to cut even pieces when the dough is not round). Roll each piece with your hands to stretch into a long 1 ½ in (approx. 3.75 cm) thick rope. Try not to just stretch it out by pulling, the dough will break. Easiest way is to place dough on counter and roll back and forth with palms of hands, starting in the middle and hands move out which stretching the dough a bit. Don’t worry about getting it to look pretty, just try to get each piece even sized.
Take one piece of dough. Use side of your hand to press and create an indent in the middle of the strand. Spread 1/3 of the filling in this indent.
Bring up the sides of the dough, encasing the filling, and pinch dough closed. Repeat with other strands.
Now, time to braid the bread: start in the middle and braid. Pinch ends, tuck under. Now braid the other side, pinch and tuck. Start braid from the middle (instead of top) so that it tapers evenly at both ends. Place on prepared sheet, over paper.
Cover with towel and let rest for 1 ½ hours; 20 minutes prior to baking, preheat your oven to 180ºC/350ºF.
When dough is ready, brush top with egg wash and sprinkle with almonds. Bake for 25 minutes or until golden.
* this amount of dough is enough to make four 1-pound (450g) challahs – you may keep the remaining dough in the fridge or freeze it (as explained in the recipe) and use as desired
Makes 1 challah